So yesterday I talked about measuring & taping. That was definitely the hardest part of the project. So now comes the easy part - painting! This is literally painting in between the lines.
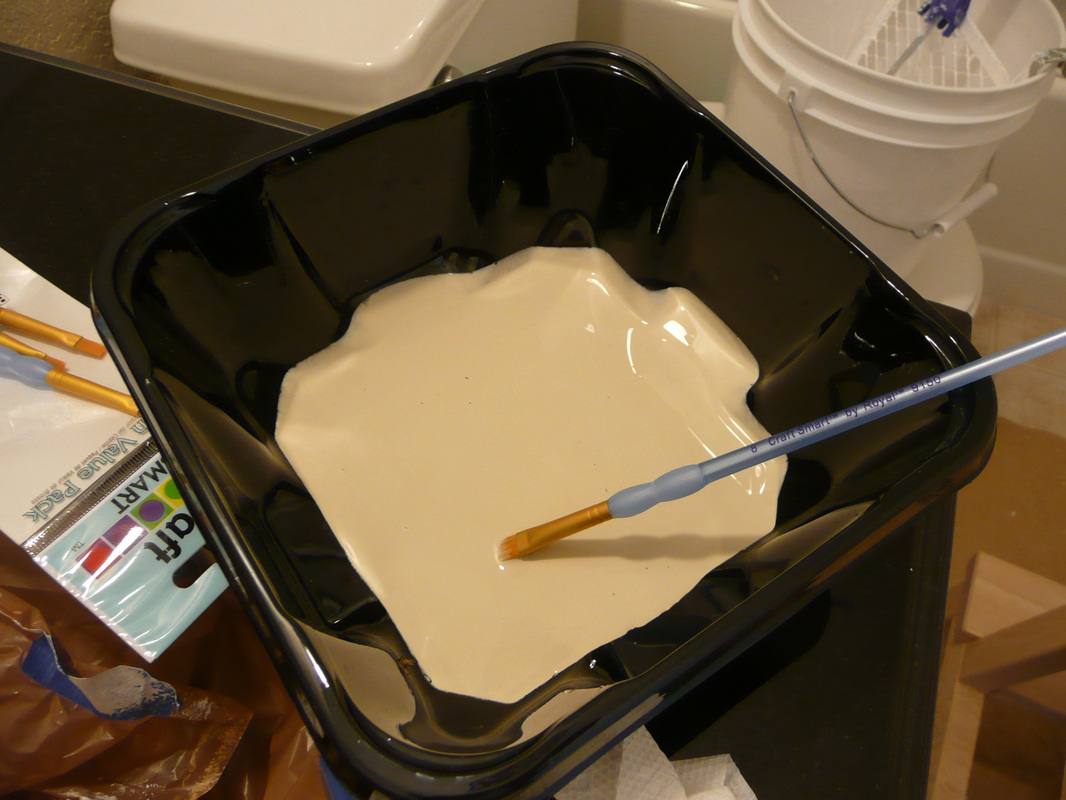
First things first. I started by marking spaces that needed to be painted with a "W" (for white) just to be sure that I'm painting the right spaces. It may seem obvious that I'm painting in the wider spaces. But it's an easy prevention so why not?
First things first. I started by marking spaces that needed to be painted with a "W" (for white) just to be sure that I'm painting the right spaces. It may seem obvious that I'm painting in the wider spaces. But it's an easy prevention so why not?
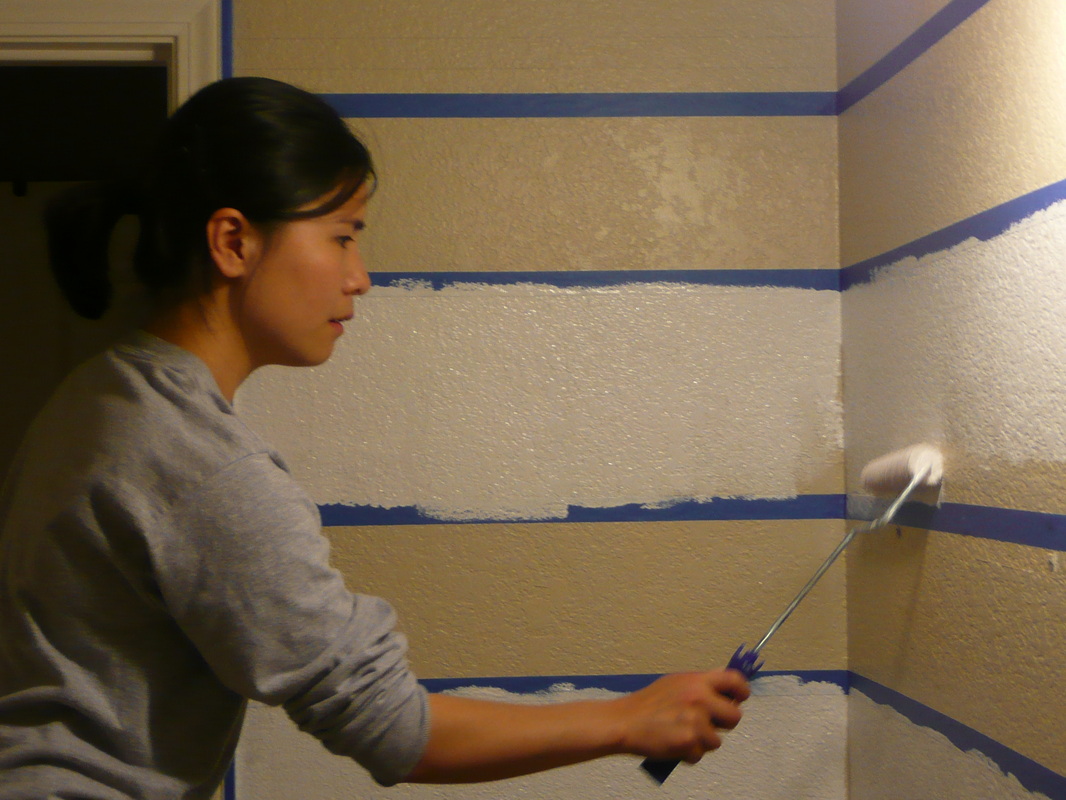
Then I just started cutting in with a brush and then rolled on the paint! If you're clumsy like me and accidentally paint outside the lines, just keep a damp paper towel nearby. Simply wipe off while the paint is still wet. Even if you don't catch all your mistakes in time, you can always apply touch-up paint at the end. I found that rolling up and down (versus side to side) gave me more control. Plus I could also make sure the taped edges are completely covered with paint.
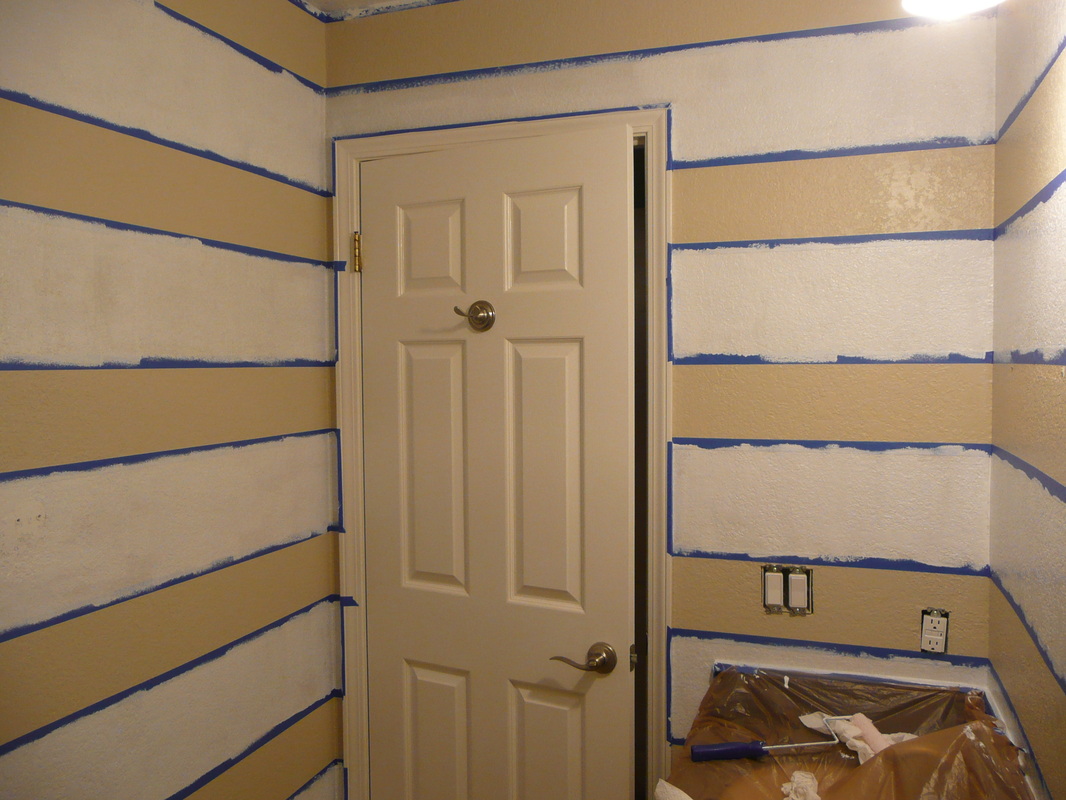
Woo-hoo! Here's what it looks like when we finished applying the first coat of paint! The first coat always shocks me a bit. The room looks so different already! I'm crossing my fingers that it looks right at the end!
Then we applied the second coat and it looks pretty well covered so we decided 2 coats were enough. I read that you should peel off the tape immediately after your final coat of paint to keep a clean edge. Because if the paint is dry, parts of it could flake off with the tape. And here's a first peek! Yup, I love it! Also, notice the ceiling is now white! Definitely love it more than the beige!

After the tape came off, I noticed edges around the ceiling that looked uneven (like there were some white ceiling paint that were visiting the first beige stripe). Thankfully the previous owner left us some beige paint in the garage, so I just touched-up any renegade white paint. I also touched-up places where the paint bled a little through the tape. It was super easy to do and actually therapeutic. I like doing touch-ups!
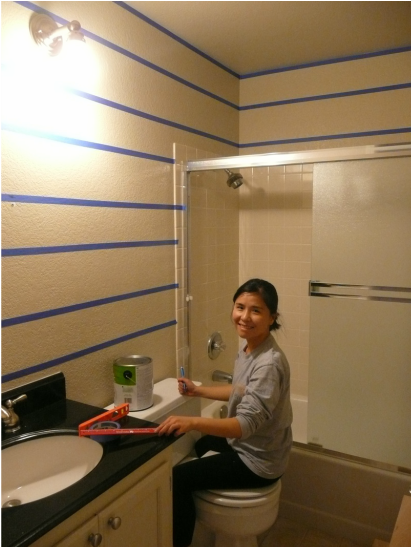
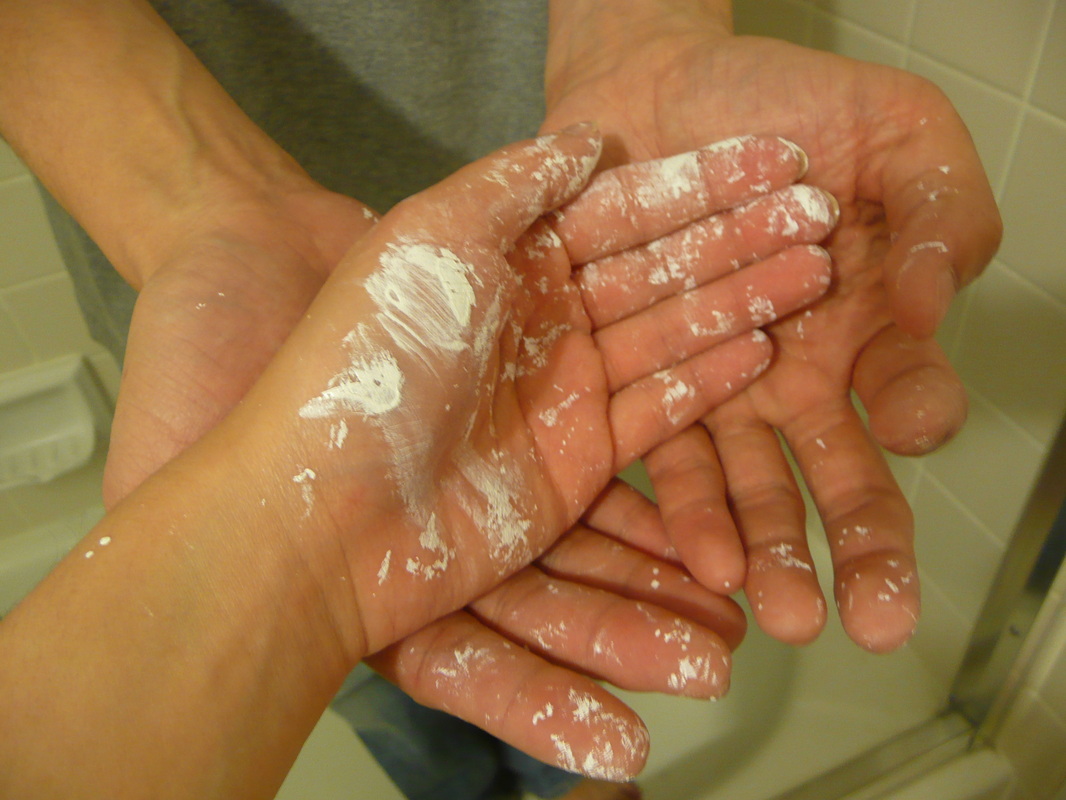
Here's a picture of our hands when we were done. Yup, we've been hard at work.
Yay, the painting is officially done! Since the paint is still wet at this point, we'll have to wait until it is bone dry before putting everything--mirror, art work, vent cover, etc--back on. Can't wait until it's all done!

 RSS Feed
