So a while ago I saw bloggers who were customizing plain 'ole white mugs with sharpies. The steps are really pretty straightfoward.
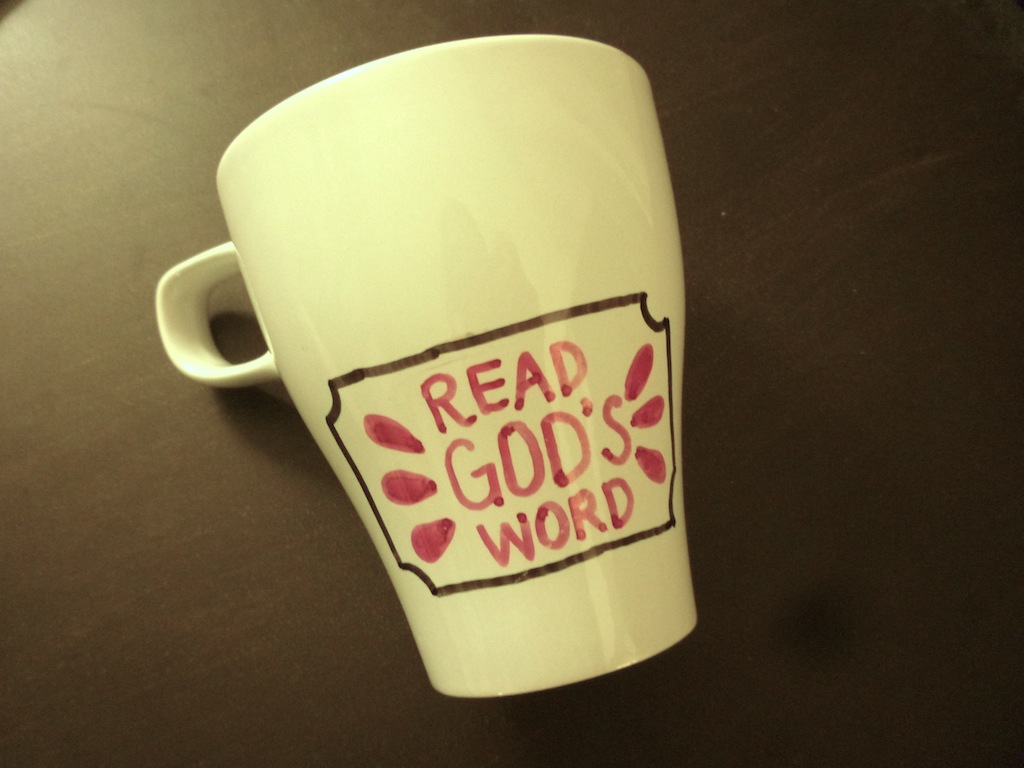
Well the good news is, it worked for me! Here's my finished mug!
- Step 1: get a white mug & permanent markers
- Step 2: write/draw on said mug with said permanent markers
- Step 3: Bake in oven to seal the design
Well the good news is, it worked for me! Here's my finished mug!
So here's the lowdown on what I did. For the mug, I bought the Ikea FÄRGRIK mugs (yup, the cheapo 99 cent ones). After reading various blogs, I was puzzled as to whether I should get stoneware, ceramic or glass and whether it all really mattered at all. I'm still not sure if material mattered for this project, but the FÄRGRIK mug worked for me.

Ikea FÄRGRIK Mug
I hand-washed the mug, dried it with paper towel and then wiped down the entire surface of the mug with paper towel dampened with 70% IPA. Then I dried the mug with another paper towel.
I was kind of a nazi about this because I believed getting rid of oil and anything else that is on the surface of the mug will ensure the best chance of ink adhesion. So I don't know if I went overboard or not, but that's what I did.
I was kind of a nazi about this because I believed getting rid of oil and anything else that is on the surface of the mug will ensure the best chance of ink adhesion. So I don't know if I went overboard or not, but that's what I did.
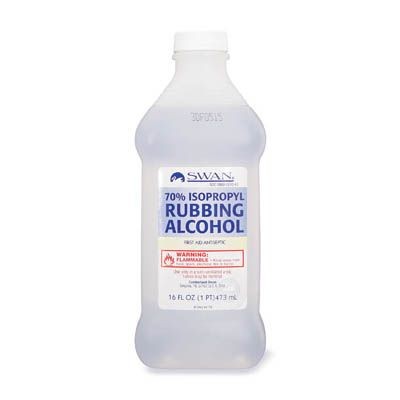
I got mine from Target in its generic brand but you can get 70% IPA just about anywhere.
Then I started to draw on the cup using my permanent markers. I used the two brands I had at home: Sharpie and Bic.

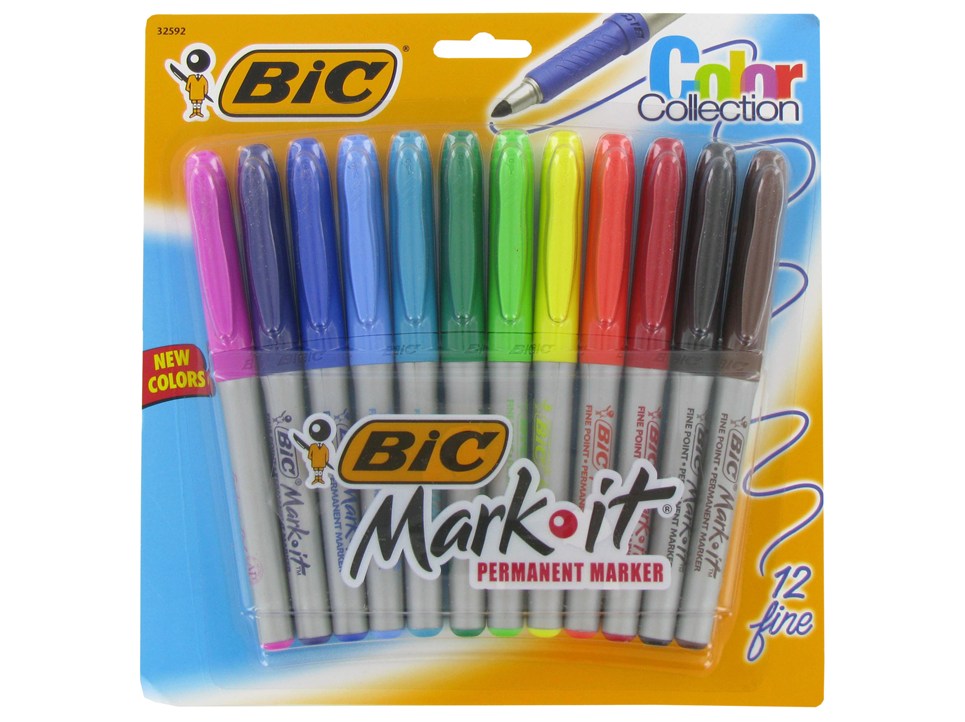
I will say the Sharpie was significantly thicker point than the Bic. The nice thing about this project is, if you mess up you can always erase using a paper towel dampened with alcohol. So it's really nice and forgiving. :) The only odd thing is metallic Sharpies simply do not draw on the mug at all. No clue why.
After I was done with my design, I placed the mug in a cool oven (meaning do not pre-heat the oven) and set the temperature to 400C. When the oven reaches temperature, set the timer to 40 minutes. After 40 minutes, turn the oven off but do not remove the mug from the oven until it has completely cooled down to room temperature. In fact, I left my mug in the oven overnight and removed it the next morning.
Honestly I was imagining that the ink would become liquid or something and bleed down the mug when it was heating in the oven. Happily that did not happen. I might've let out a sigh of relief. :)
What I did notice when I took it out was the Sharpie colored sections stayed exactly the same while the Bic colored sections seemed to have faded some. I forgot to take before pictures but here are the afters.

Sharpie colors stayed saturated.
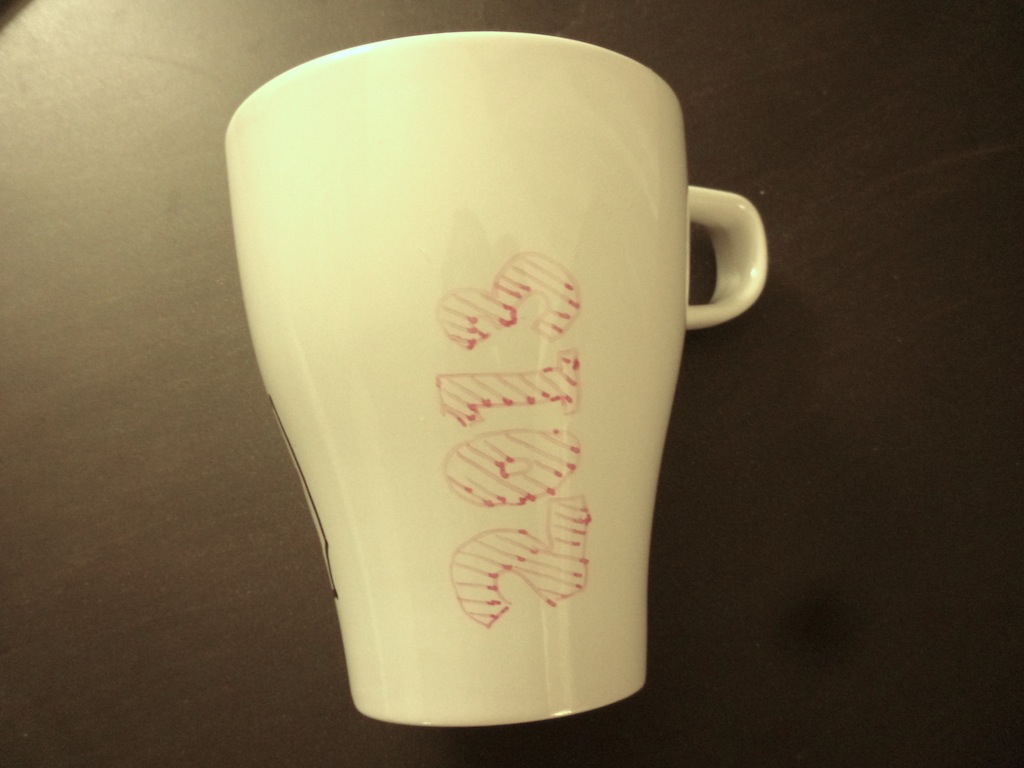
Bic colors faded.
So obviously the million dollar question was whether the ink will stay on the cup after washing. I was thinking about playing it safe and making this hand wash only. But truth be told I'm just too lazy to hand wash cups so I ended up throwing it in the dishwasher one night. And miracle of miracles, it looked exactly the same as when it came out of the oven! Yippee! :)
So, I really think this project should work for anyone. It's also really easy actually and would make fun, personal & inexpensive gifts. Now if that isn't the perfect gift-trifecta, I don't know what is!
So, I really think this project should work for anyone. It's also really easy actually and would make fun, personal & inexpensive gifts. Now if that isn't the perfect gift-trifecta, I don't know what is!


 RSS Feed
